More
Bulk Image Editor & Optimizer Quick Start – Page Upload
3/5/2026
Page Upload quick start
Welcome! This walkthrough follows the same calm, conversational style you see in Shopify’s Help Center. In a few minutes you’ll learn how to refresh a product’s media directly on the Bulk Image Editor & Optimizer product list page—no spreadsheets or imports required.
Who this guide is for
- Merchants who need to add, reorder, or retire a handful of product photos.
- Support teams that want to show merchants the quickest way to check their work before publishing.
- Anyone reviewing the “Need more examples? Open the full guide” link from inside the app.
Before you begin
- Make sure the Bulk Image Editor & Optimizer app is installed and you can open it from Shopify admin → Apps.
- Have your image files ready (JPG, PNG, or WEBP). Keep file names short and descriptive so you can recognize them later.
- Decide on the ideal first image—it’s what customers see on search results and Shopify storefront cards.
- Optional but recommended: jot down the Alt text you want for each image so accessibility and SEO stay consistent.
Tip: If you need to change dozens of products at once, switch to Excel Mode instead (see “Shopify Excel Mode” in this library).
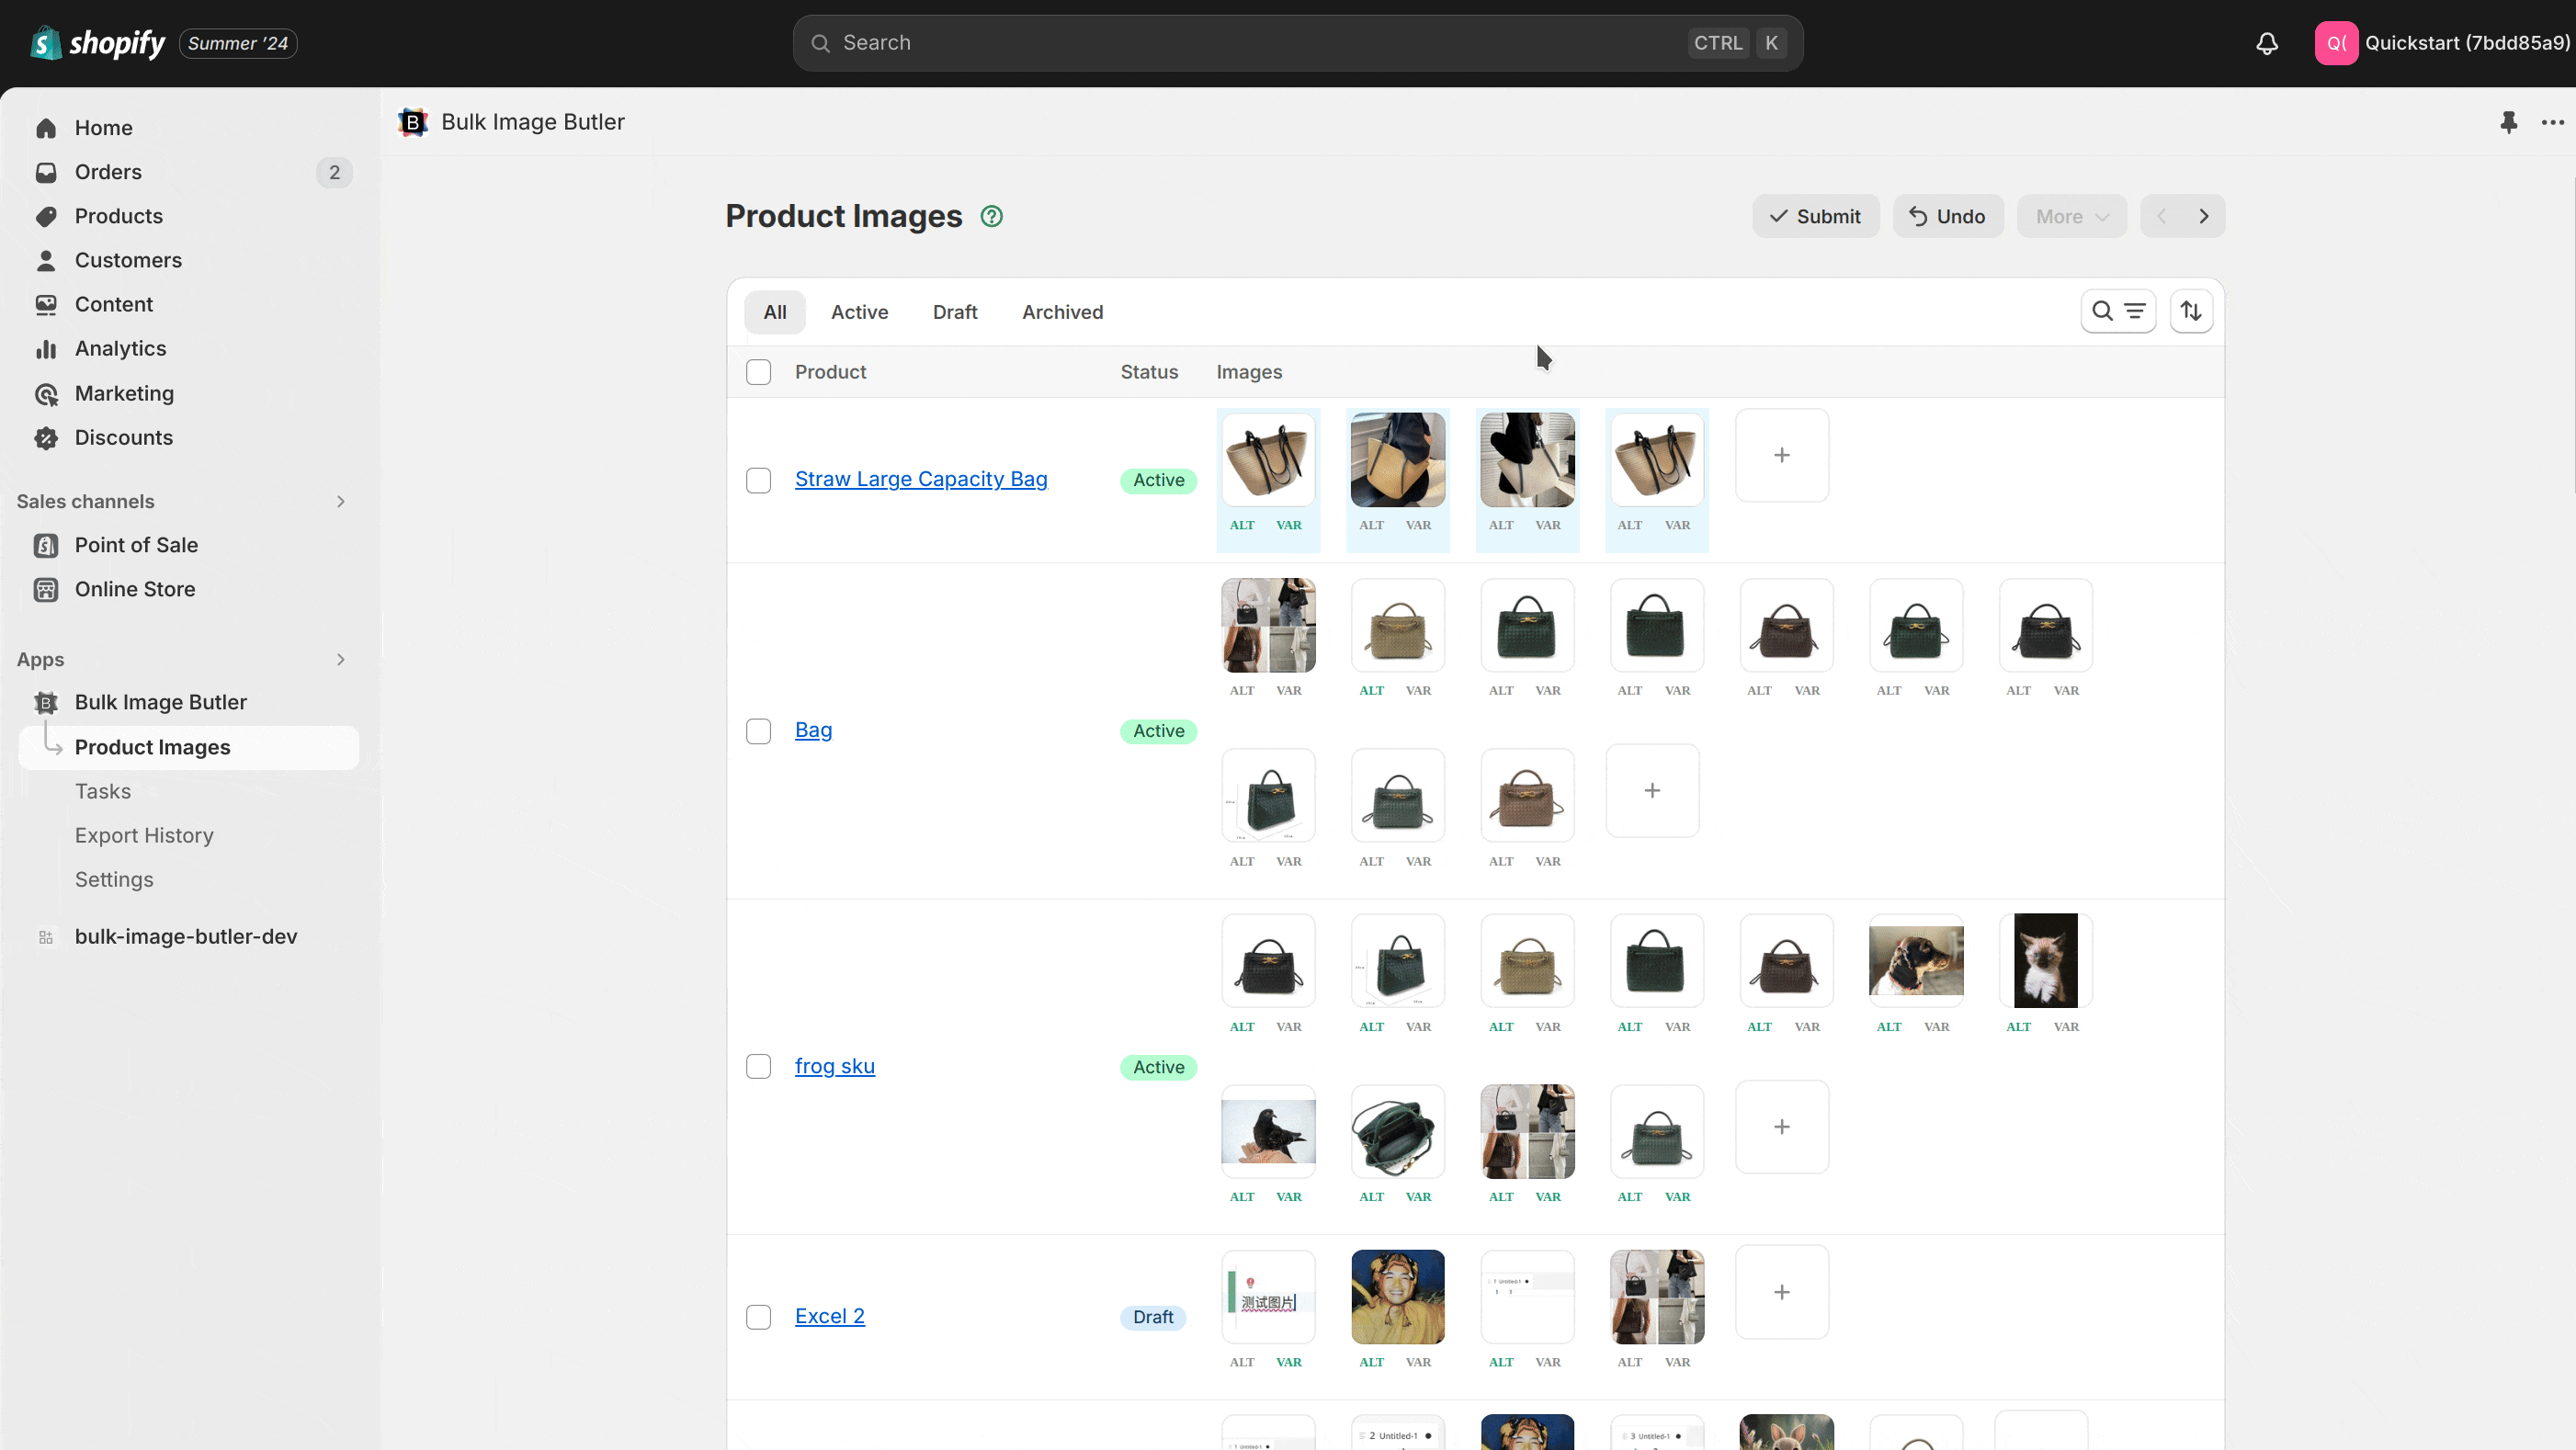
Step 1 – Open the Page Upload workspace
- From Shopify admin, go to Apps → Bulk Image Editor & Optimizer.
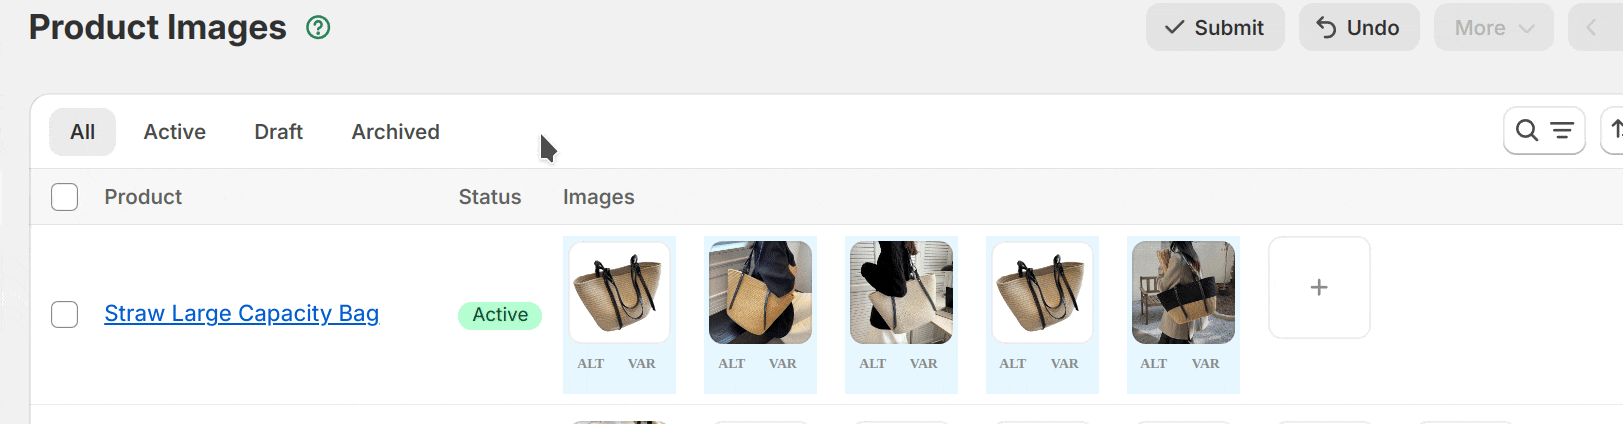
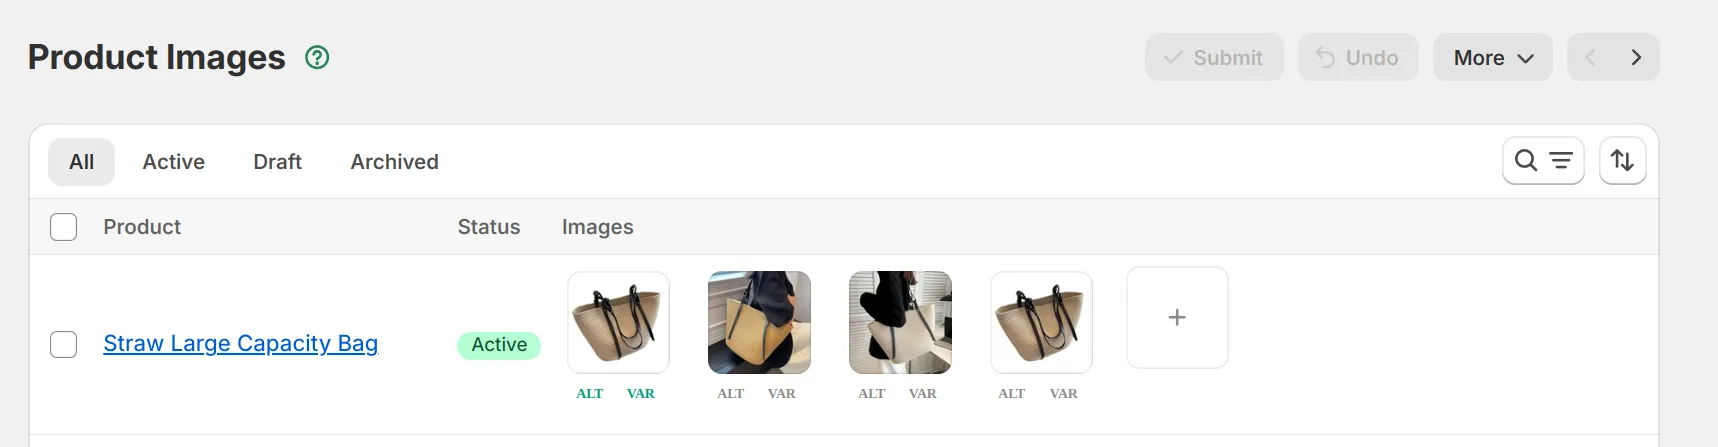
- Select Product Images. You’ll land on the product list view shown below.
- Use search or filters to find the product you want to update. In this example we’ll work with “Straw Large Capacity Bag.”
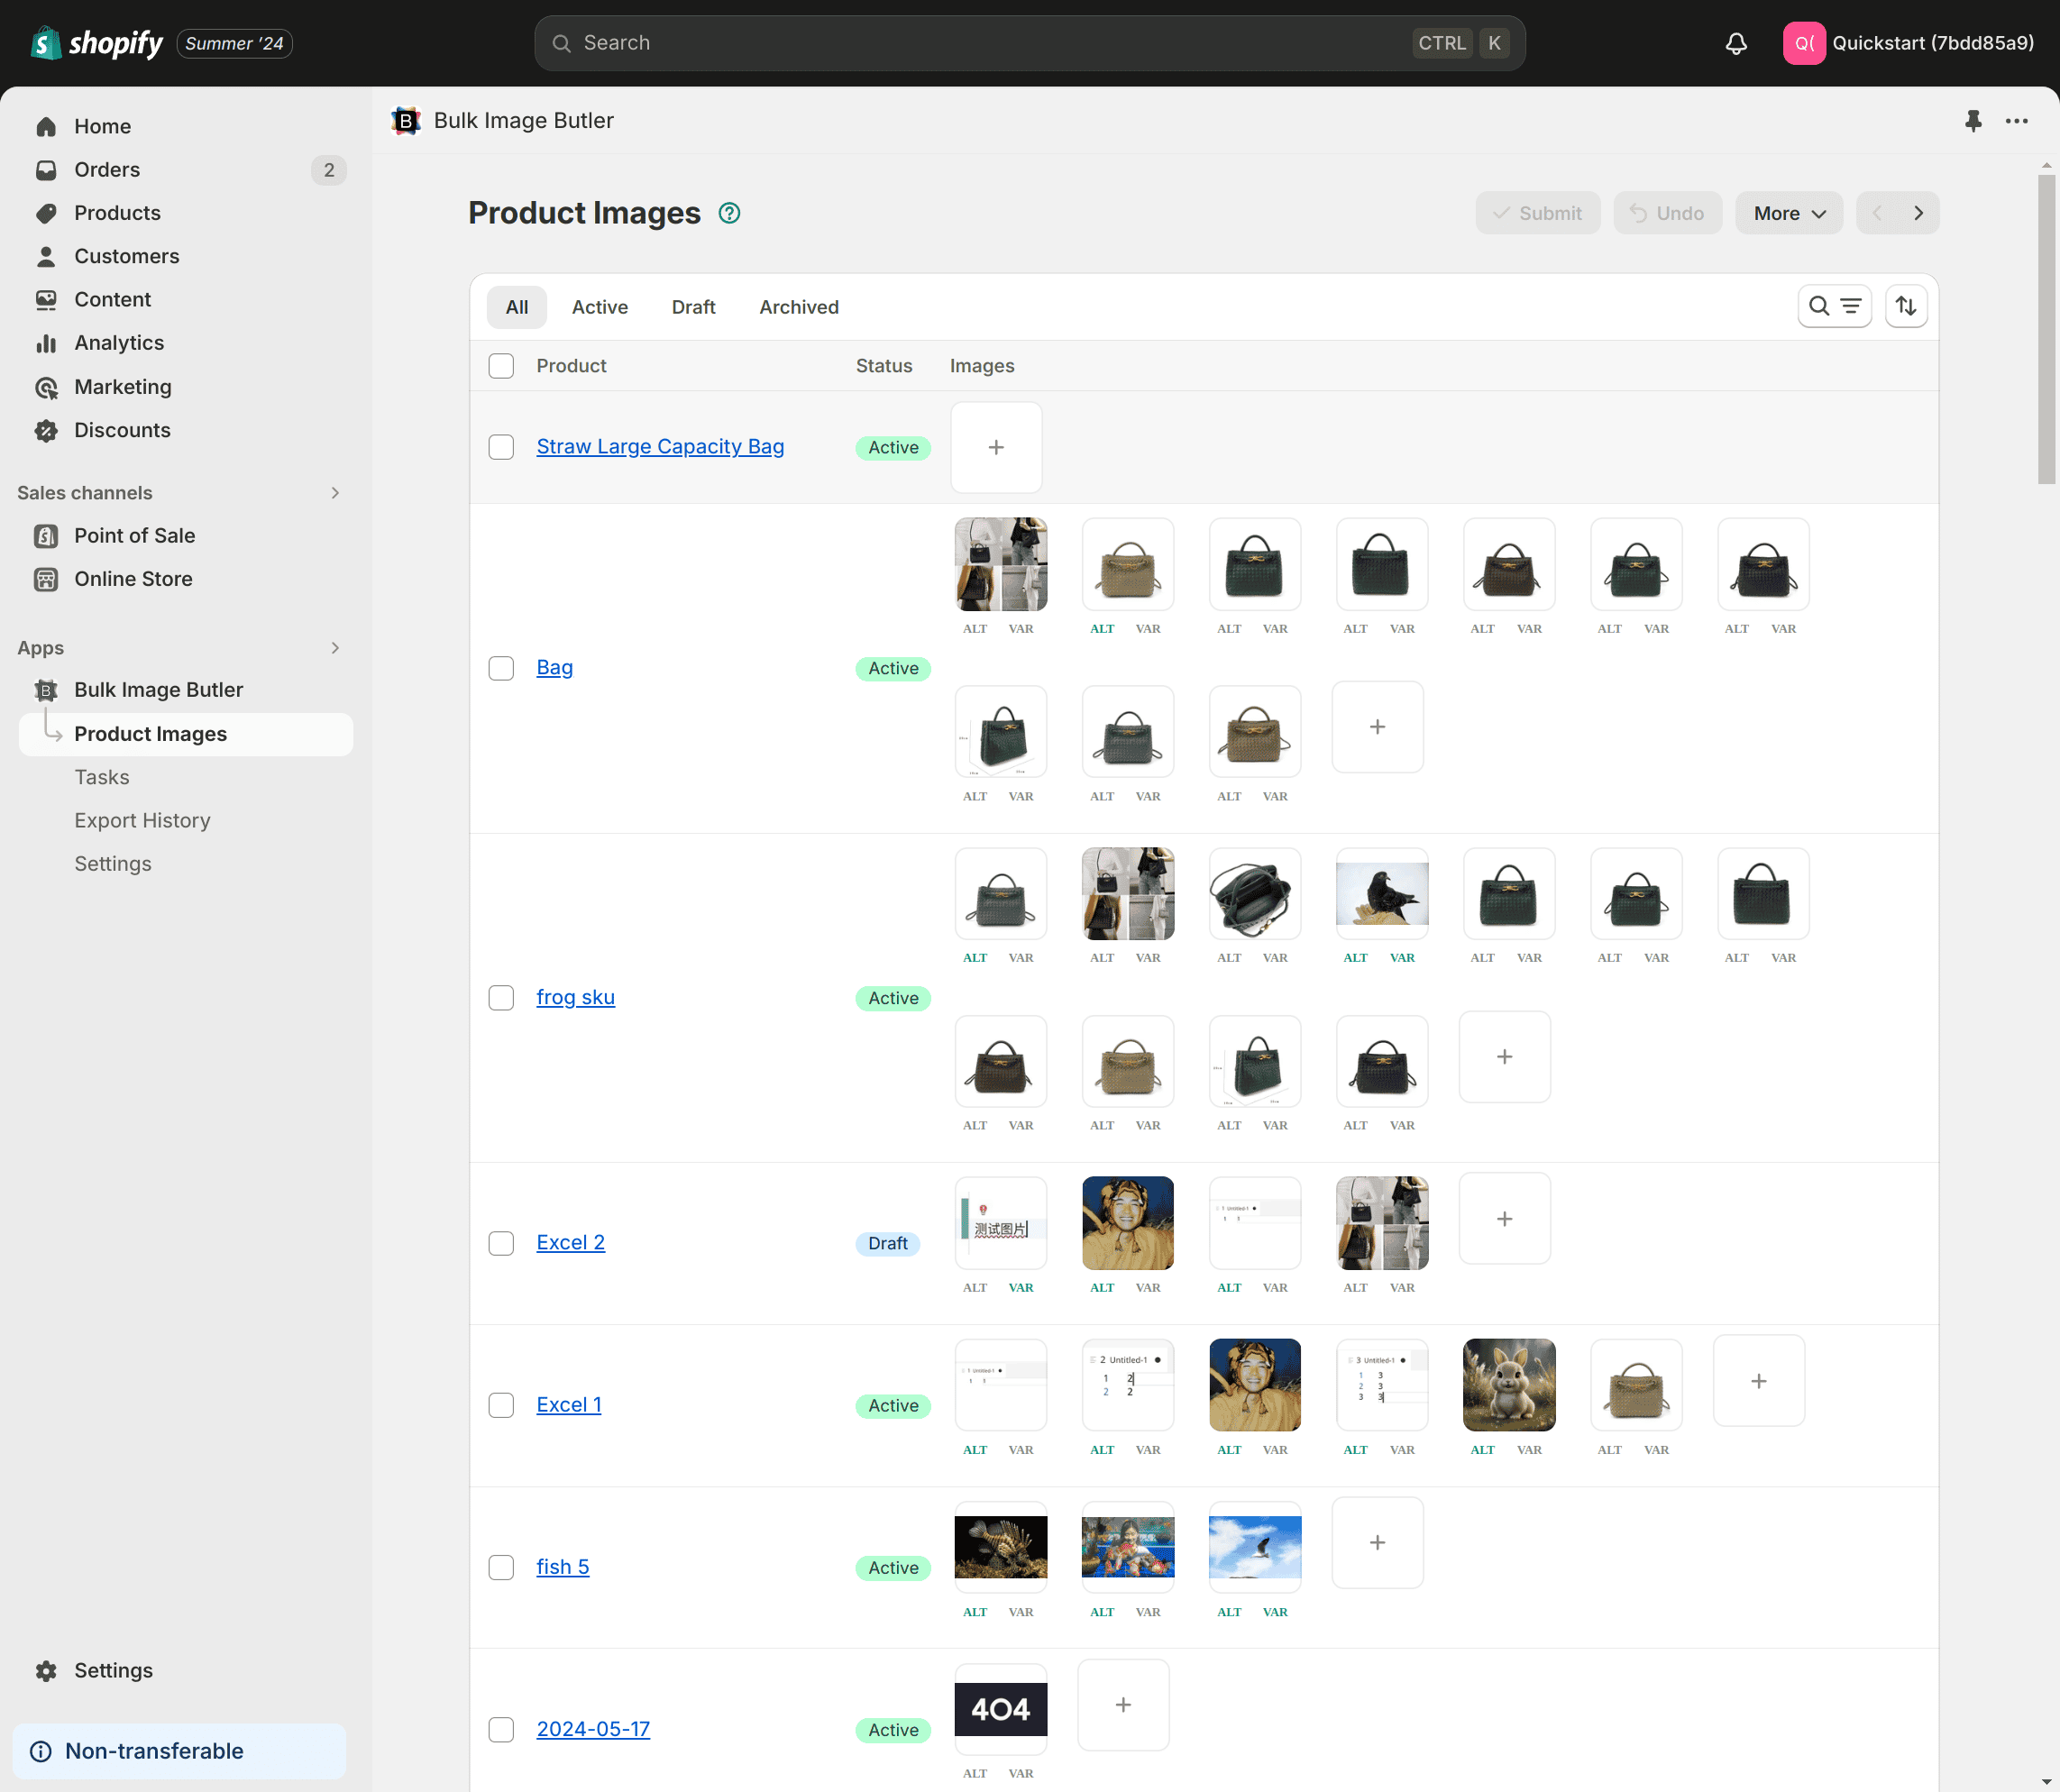
Step 2 – Add images
You can add images two different ways. Both methods upload the files immediately and display a thumbnail so you can confirm the order.
Option A: Drag and drop
- Highlight the files on your computer.
- Drag them over the Add Image card until it turns blue.
- Release the mouse to upload. You’ll see a progress animation—stay on the page while it completes.

Option B: Use the Add Image button
- Click the Add Image icon.
- Choose the files in your file picker. Multi-select works, so upload a full colorway set in one go.
- Confirm, and each file appears in the product gallery.
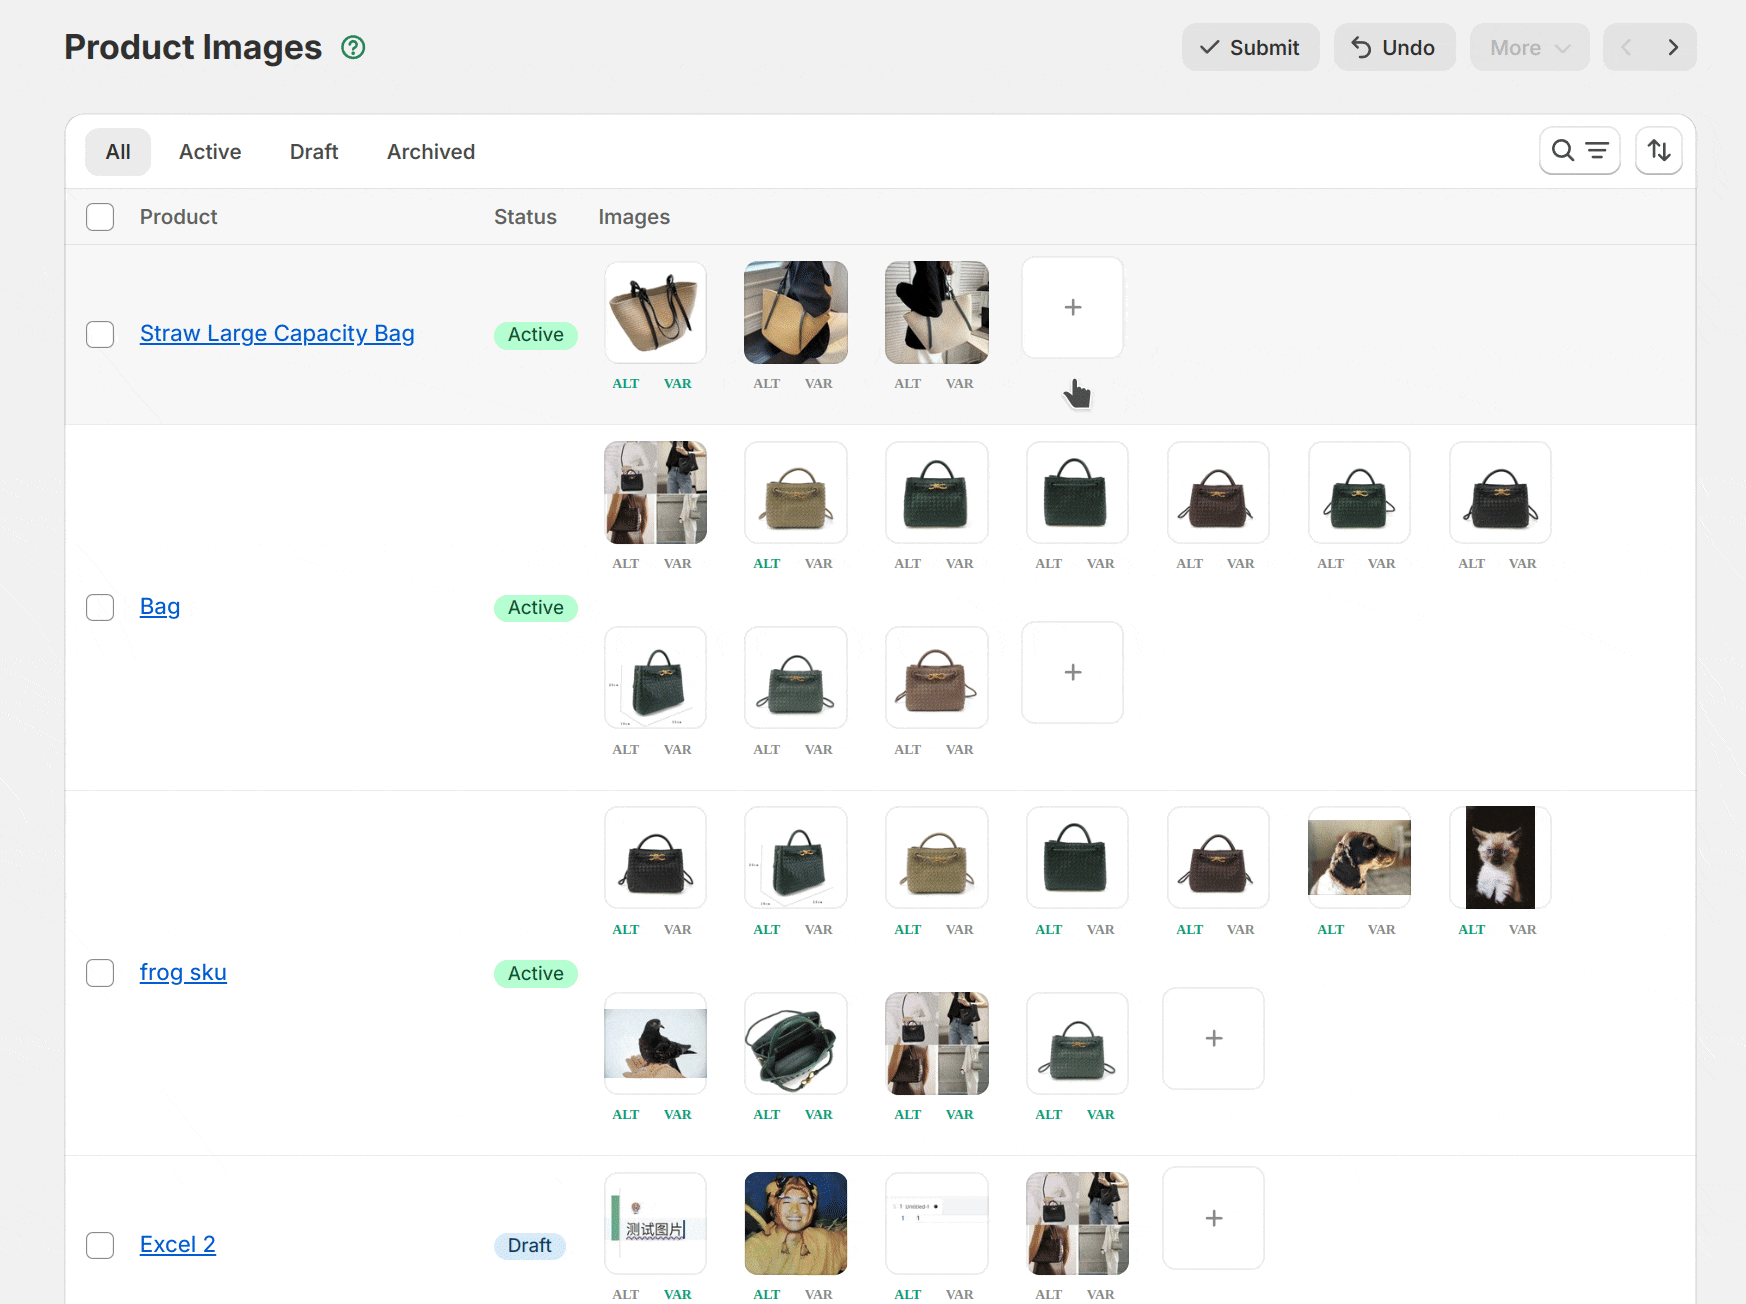
Step 3 – Fine-tune Alt text and variant mapping
- Select ALT VAR beneath any image. A side panel opens.
- Write customer-friendly Alt text (describe the product, material, and context in a short sentence).
- Assign variants so the right swatches update (for example, “Natural / Large”).
- Click Confirm. The ALT and VAR labels will turn green to indicate your edits are saved.
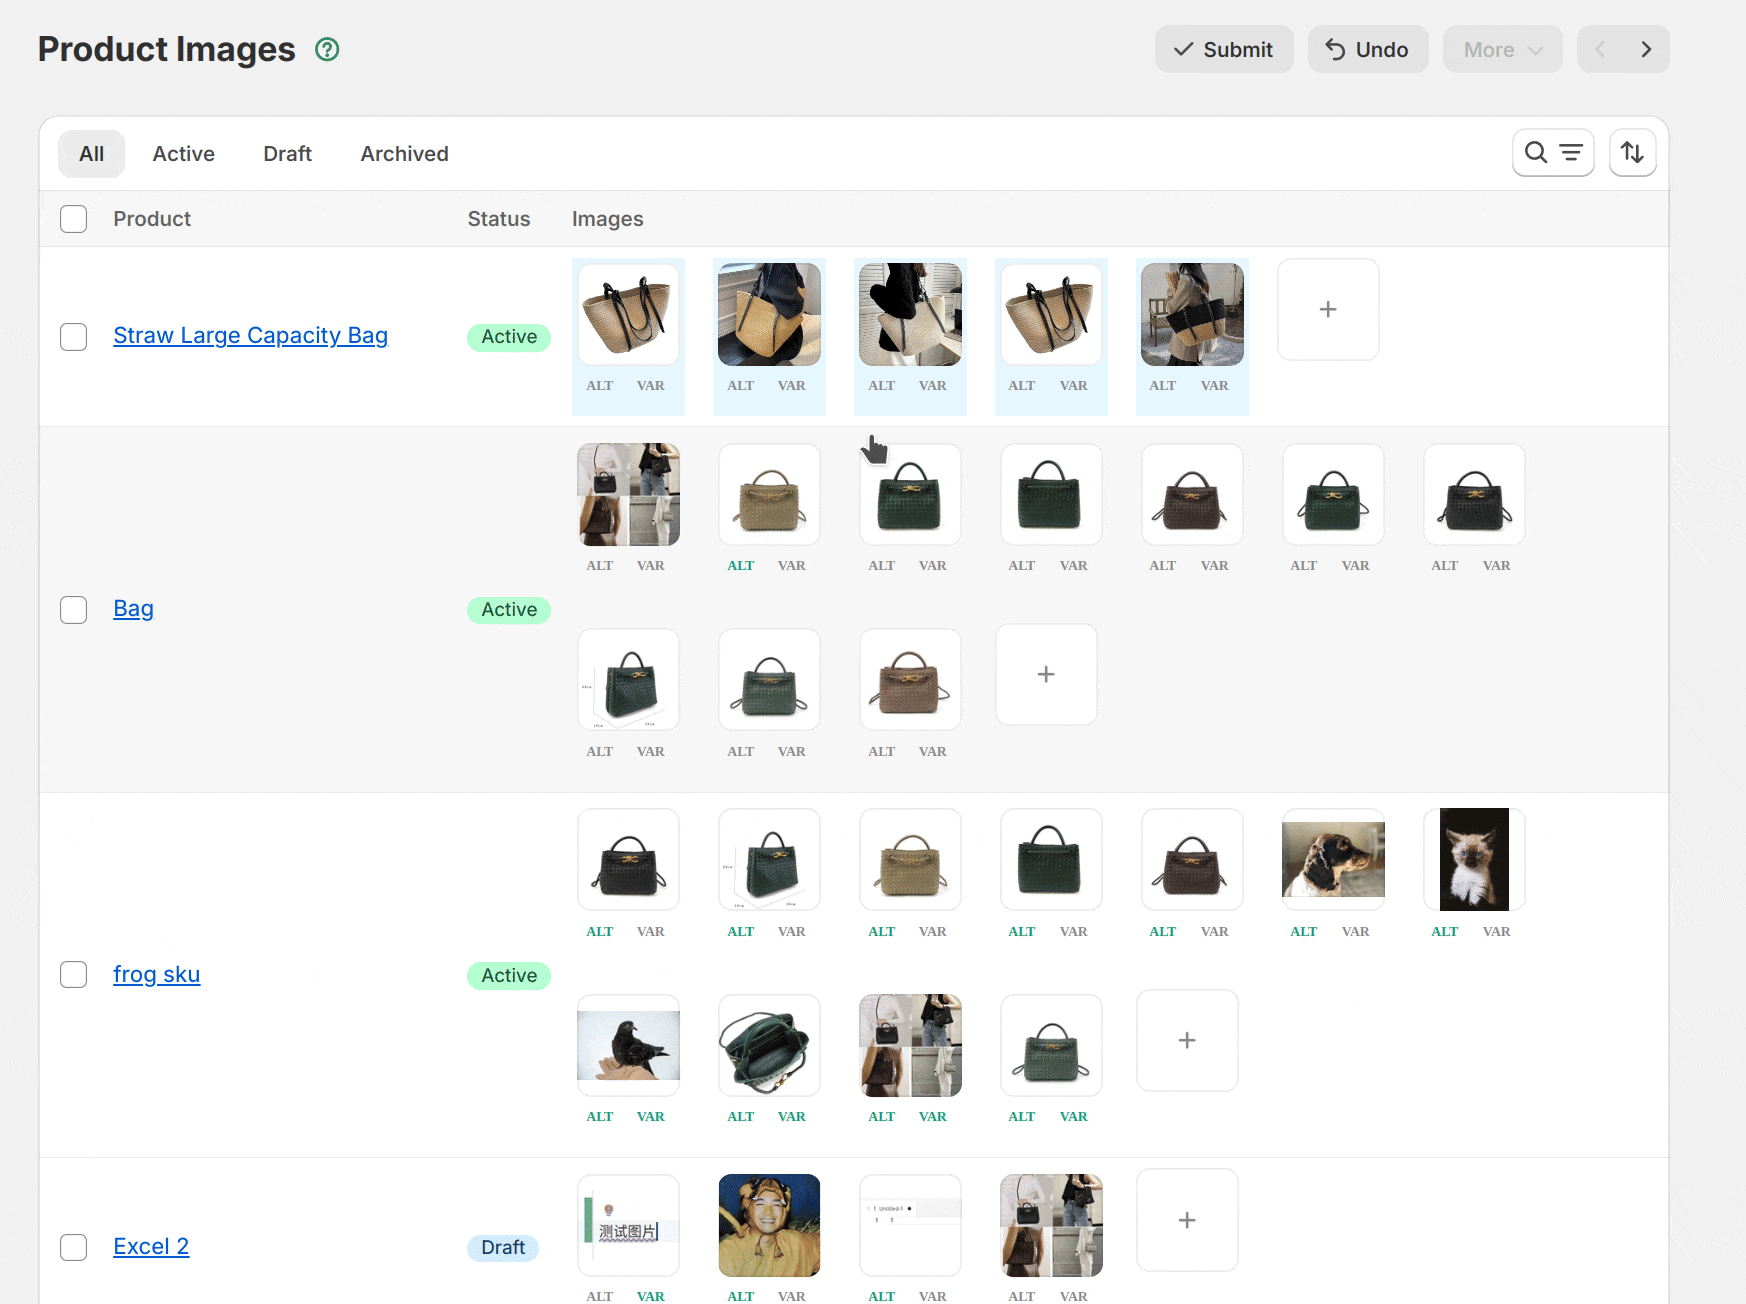
Step 4 – Reorder images
Drag any thumbnail to a new slot to change the order. Shopify immediately reflects the new sequence once you submit, so make sure the most shoppable shot sits first.
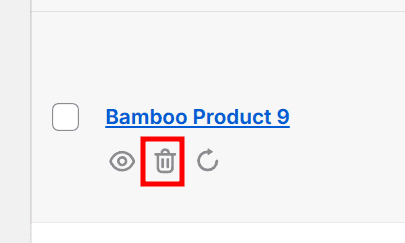
Step 5 – Clean up mistakes
- Delete a single image: hover over the thumbnail and click the trash icon.
- Delete an entire batch: hover over the package name and choose Delete All to remove every image from that upload group.

Step 6 – Submit and confirm
- Click Submit when you’re happy with the gallery.
- Review the confirmation dialog. Leave the defaults unless you need to rerun Alt text or variant changes only.
- Choose Confirm to start the task. Stay on the page while it processes.
When everything finishes, you’ll see a success state with task details. Pick Keep Me Here to continue optimizing or View Product to confirm the update on Shopify.
Best practices
- Aim for consistent aspect ratios (squares or 4:5) so product cards look polished.
- Keep Alt text under 120 characters and write it like a sentence, not a keyword list.
- Double-check variant assignments after duplicating images; it’s easy to leave the wrong color selected.
- Submit changes in small batches if your store theme or metafields trigger automations when media changes.
What’s next?
- Need to adjust dozens of images per product? Jump to Bulk Image Editor & Optimizer Quick Start – Shopify Excel Mode.
- Looking for column definitions only? Open Shopify Bulk Image Excel Template Column Descriptions.
- Still have questions? Contact us from the in-app chat or email the support address listed in your Shopify admin.